Everything I Know About Manual Focus
Of the limited number of 645 and 6x6 cameras that shipped with autofocus, no medium format camera was ever made with multi-point AF. Shooting with film in medium format requires some skill in manual focus. Even with 35mm you may pass over an auto-focus camera in exchange for a rangefinder or a camera with a ground glass focusing screen.
SLRs are netorious for misalignment. Use a manual focus chart to confirm that the mirror stop is adjusted properly.
How Backfocus Occurs
If you have a split prism or parallax focusing mechanism you might be tempted to use the center for focusing then adjust the framing of your shot. The technique is called "Focus and Recompose", and is very difficult because when you move the subject off center the focal plane, which is flat, tilts behind the subject. (I have heard that the auto-focus in some Hasselblad SLRs can compensate for this.)
One contributor this error is the fact that changing the focus distance also changes the depth of field. Sometimes focusing slightly behind the subject seems right because entire image as a whole is sharper. Even though the subject is less sharp, the rest of frame seems to pop. To combat this, it helps to have something frame that confirms that the area behind is out of focus.
Missing Focus
Focusing is much harder in dim light, and practically speaking the reason a large aperture is desirable. A brighter focus screen always helps.
When adverse conditions give an auto-focus mechanism difficulty, it will alert you to the fact that it couldn't find enough contrast. When focusing manually you need to be aware of hard conditions and take the additional time to confirm what you're seeing. Move slowly, and if you don't know have a good idea of where your focal plane is, there is no point in pressing the shutter button!
Measuring Distance
In every condition, knowing the distance to the subject will help set or confirm focus—assuming your lens has a distance scale. The reason I assert that this always helps is because if you know the focus distance is roughly right, you also know that only tiny adjustments should be made.
On cameras with a bellows focusing this method of "range focusing" is difficult, and perhaps not accurate enough to use. See examples from this guide to the RZ67 .
As far as I know, this distance measurement is always taken from the film plane or sensor. Stills camera lenses usually don't have marks, so you'll have to experiment a bit to find out exactly how to align the numbers stamped around the barrel. On my Mamiya I need to align the center mark with the decimal in "1.5" or in an implied decimal if the number is just "1".
Reference Points
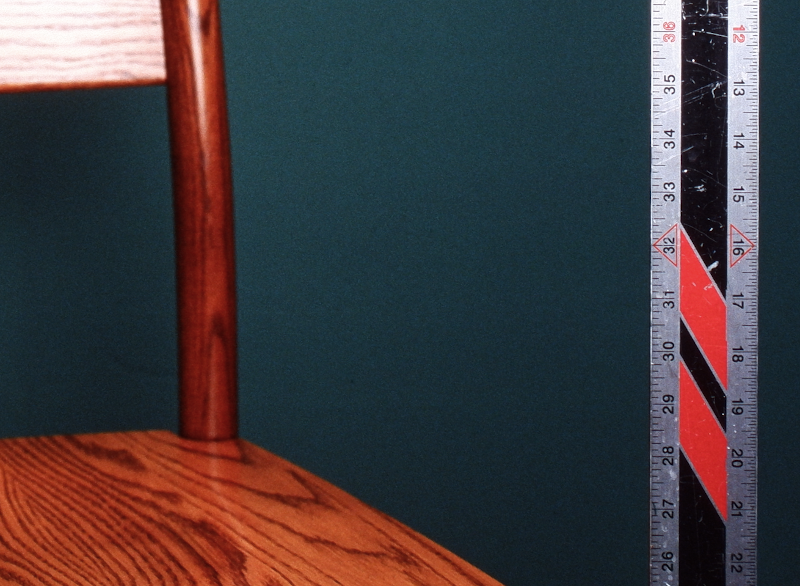 For any kind of portrait work, and especially self-portraits I find it
valuable to have something which can be placed on the same focal plane as the
subject. I often use a 4' aluminum ruler taped to a block of wood, which is
plainly visible with only a modeling light.
For any kind of portrait work, and especially self-portraits I find it
valuable to have something which can be placed on the same focal plane as the
subject. I often use a 4' aluminum ruler taped to a block of wood, which is
plainly visible with only a modeling light.
Another benefit to placing or finding a reference point is that it serves as a visual indication that your subject is closer or further than you originally anticipated. If you know that you're going to crop the photograph, it might even be reasonable to leave such an object in the frame.
Scout the Environment
It helps a great deal to know roughly how far everything in the scene is. Estimate, take measurements between points, and work out a mental map Better yet, sketch out a diagram of the space on paper. With this in hand you can work out the distances and depth of field from several vantage points.